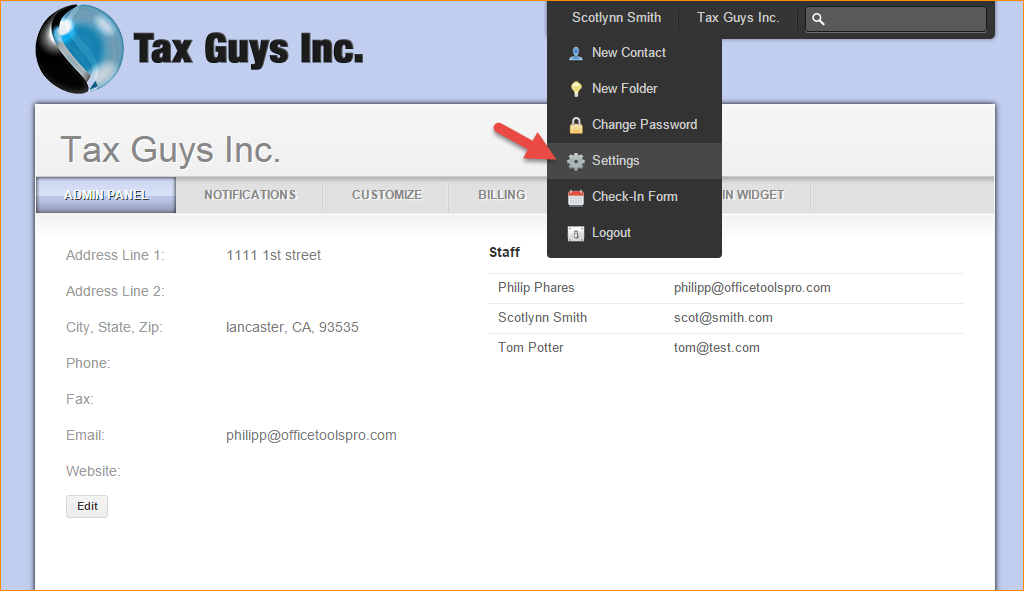
SETTINGS
Admin Panel: Shows sync’d staff members and Office info
Notifications: Allows detailed controls on which types of notifications (email and AIMI Popups) are active and which staff member(s) receive them.
Customize:
- Add a custom graphic and change the portal’s color
- Control if clients can delete uploaded files
- Turn Folder view on/off
- Turn Invoice and Payments tabs off (recommended if not using portal billing features)
- API key: Used to register portal with WorkSpace
Billing: Allows you to set up the integration with the various vendors which WorkSpace Portal supports in order to receive payments from clients electronically. You’ll need to have already set up accounts with one or more of the listed vendors and enter the appropriate accounting information into the fields provided. Once this is completed, your clients will be able to makes payments on synced invoices through the Portal.
Check-in: Control which contact info fields are visible and required upon check-in (kiosk feature).
Login Widget: Allows you to copy the HTML code necessary to create a login widget on your own website. You can do this by pasting the widget code into the code of your website. This should be handled by your website designer or web master.
RELATED GUIDES
FREQUENTLY ASKED QUESTIONS
- Can I use my own bank with Merchant Services provided on the Client Portal?
- How do I integrate the Portal with my website?
- Why is the Portal button grayed out?
- Why does the Client Portal say “This feature is coming soon?”
- Why is WorkSpace saying I am not licensed for the Portal?
- Why are my staff receiving the message “Unable to validate client portal subscription”..when uploading a document to the portal?
